After a customer logs into the system successfully and is redirected to the account dashboard page. On this dashboard page there is an ‘Actions’ button on the top right hand corner of the page with a dropdown icon.
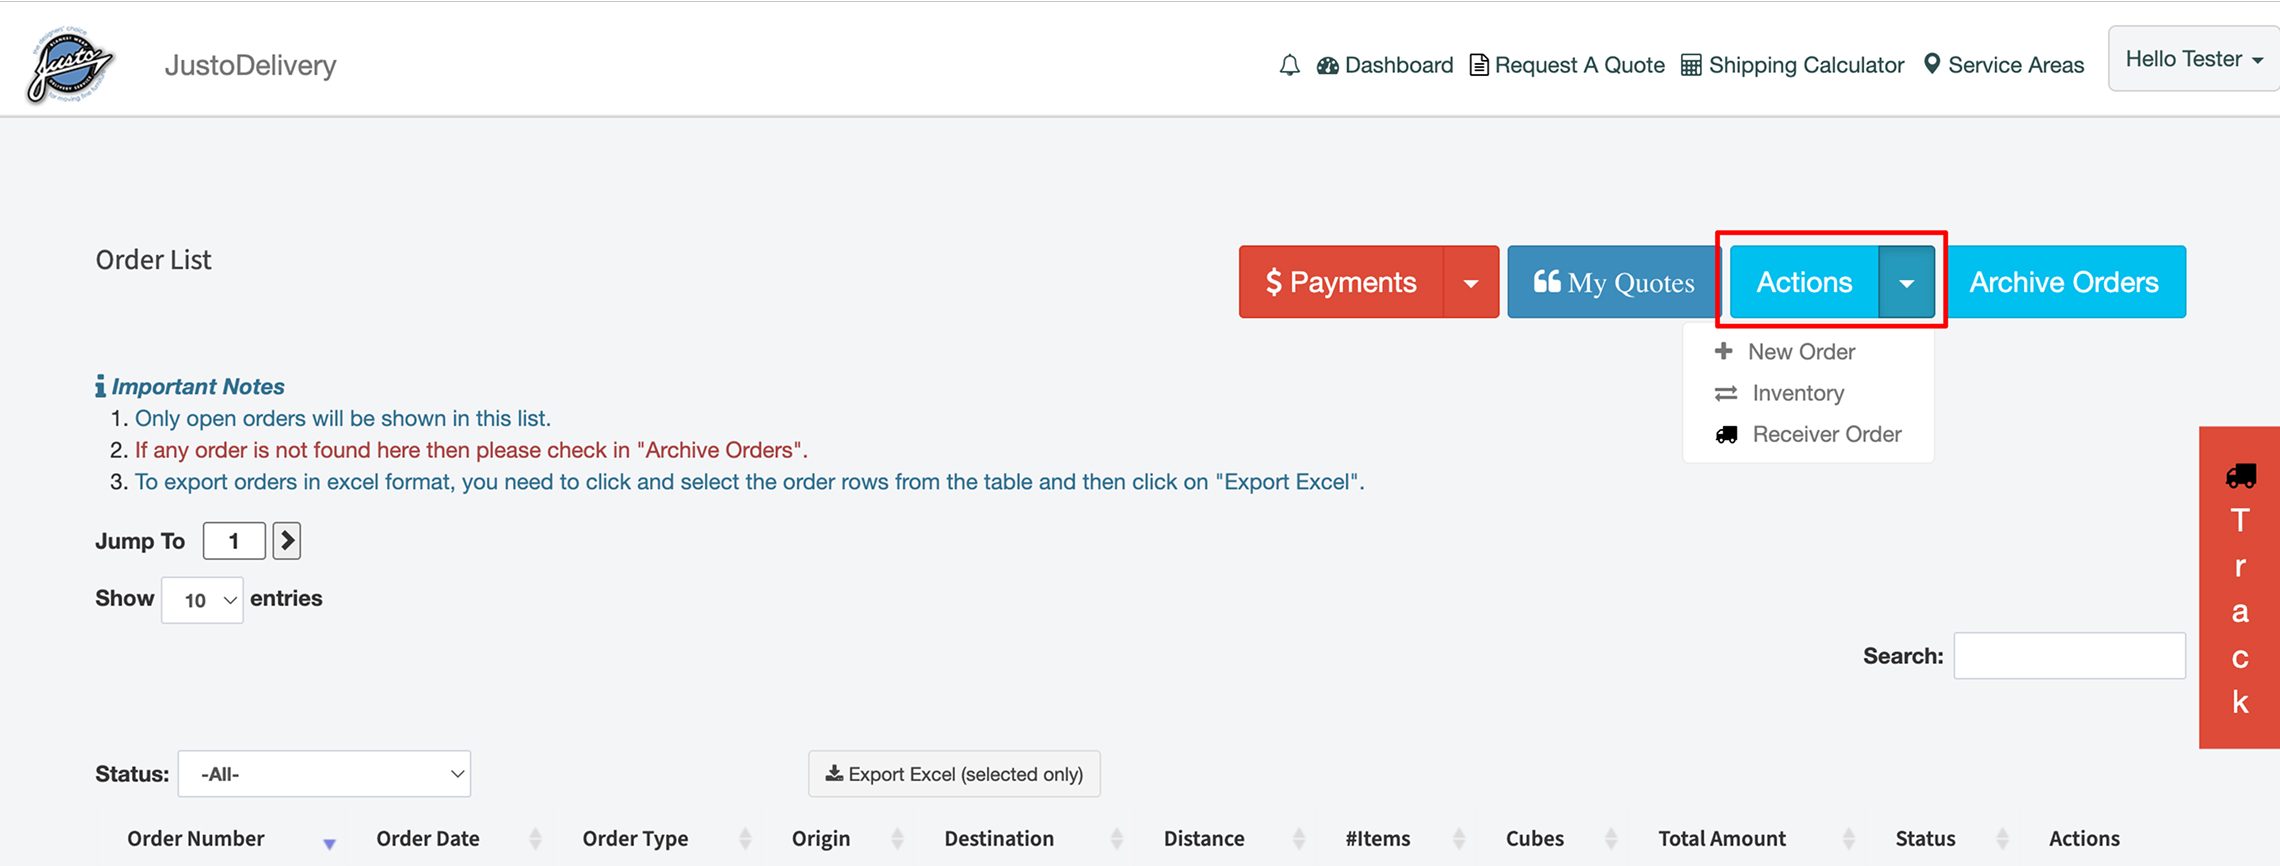
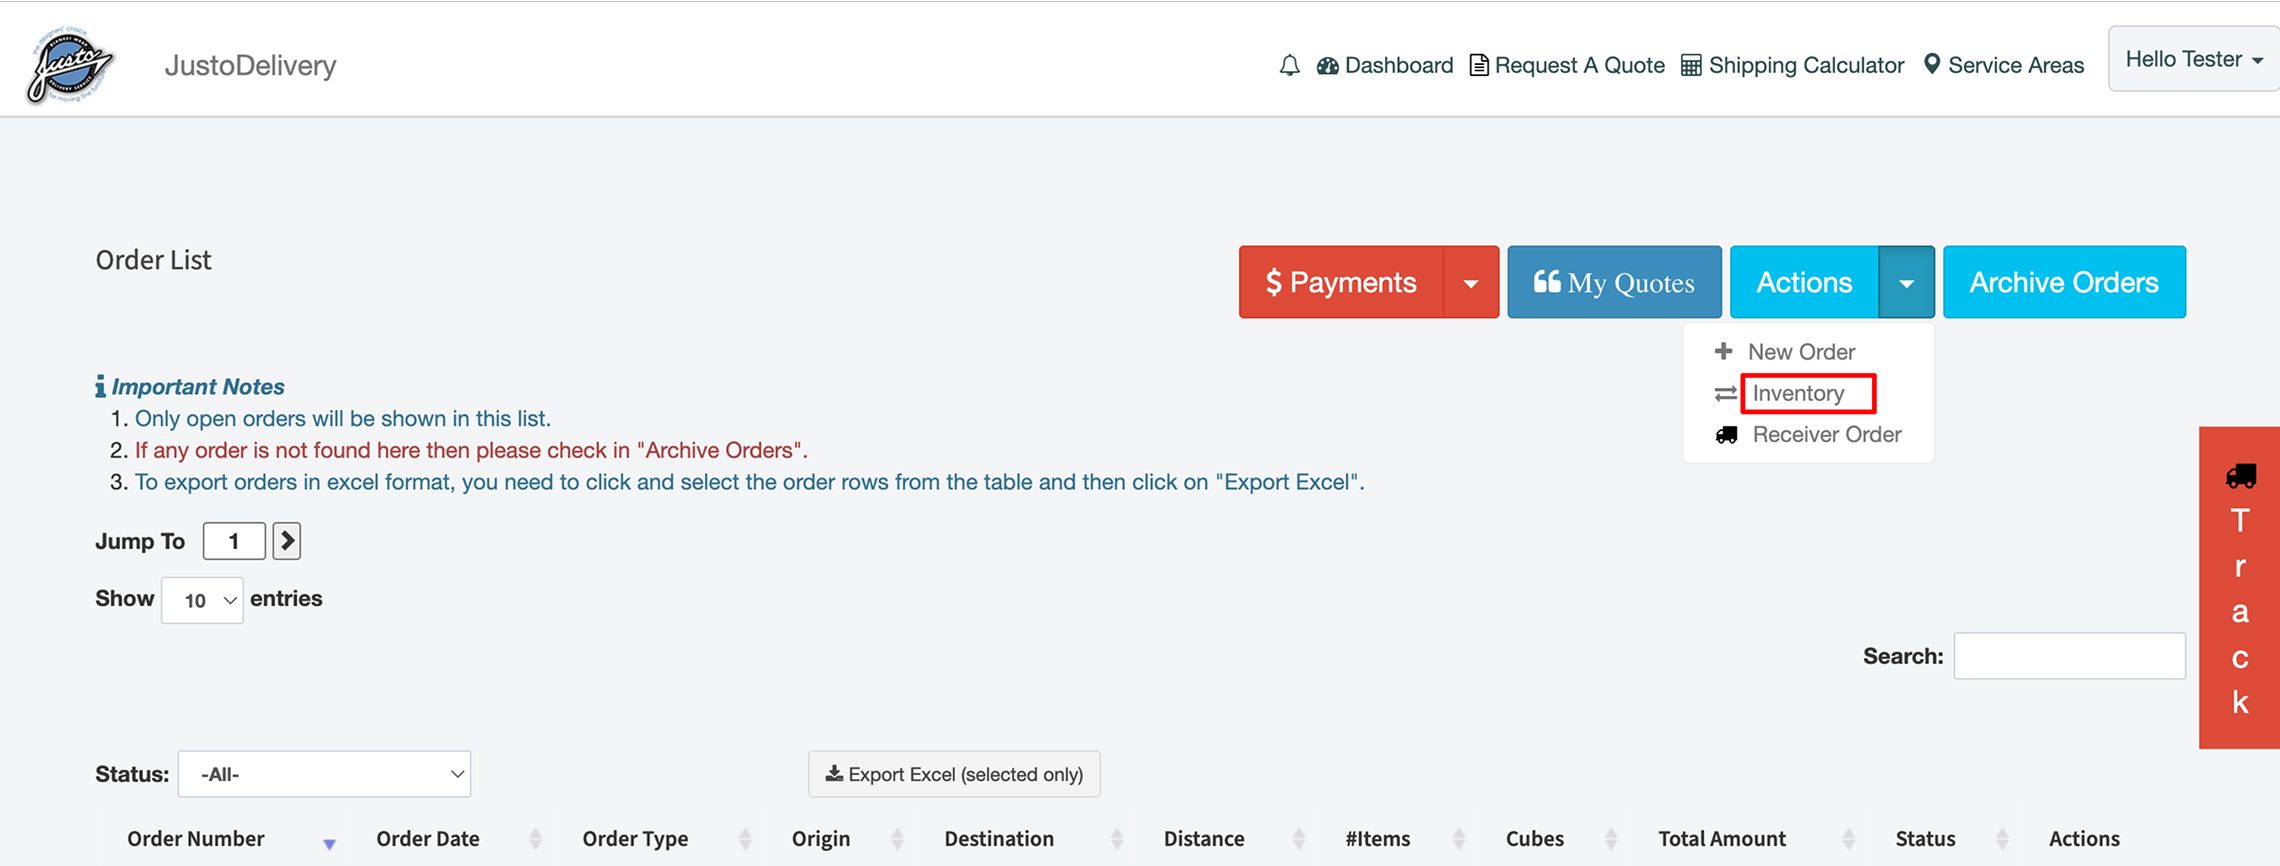
Click on this dropdown icon and two options will be displayed namely ‘New Order’, ‘Inventory’ and ‘Receiver Order’. Click on inventory to open up the inventory page.
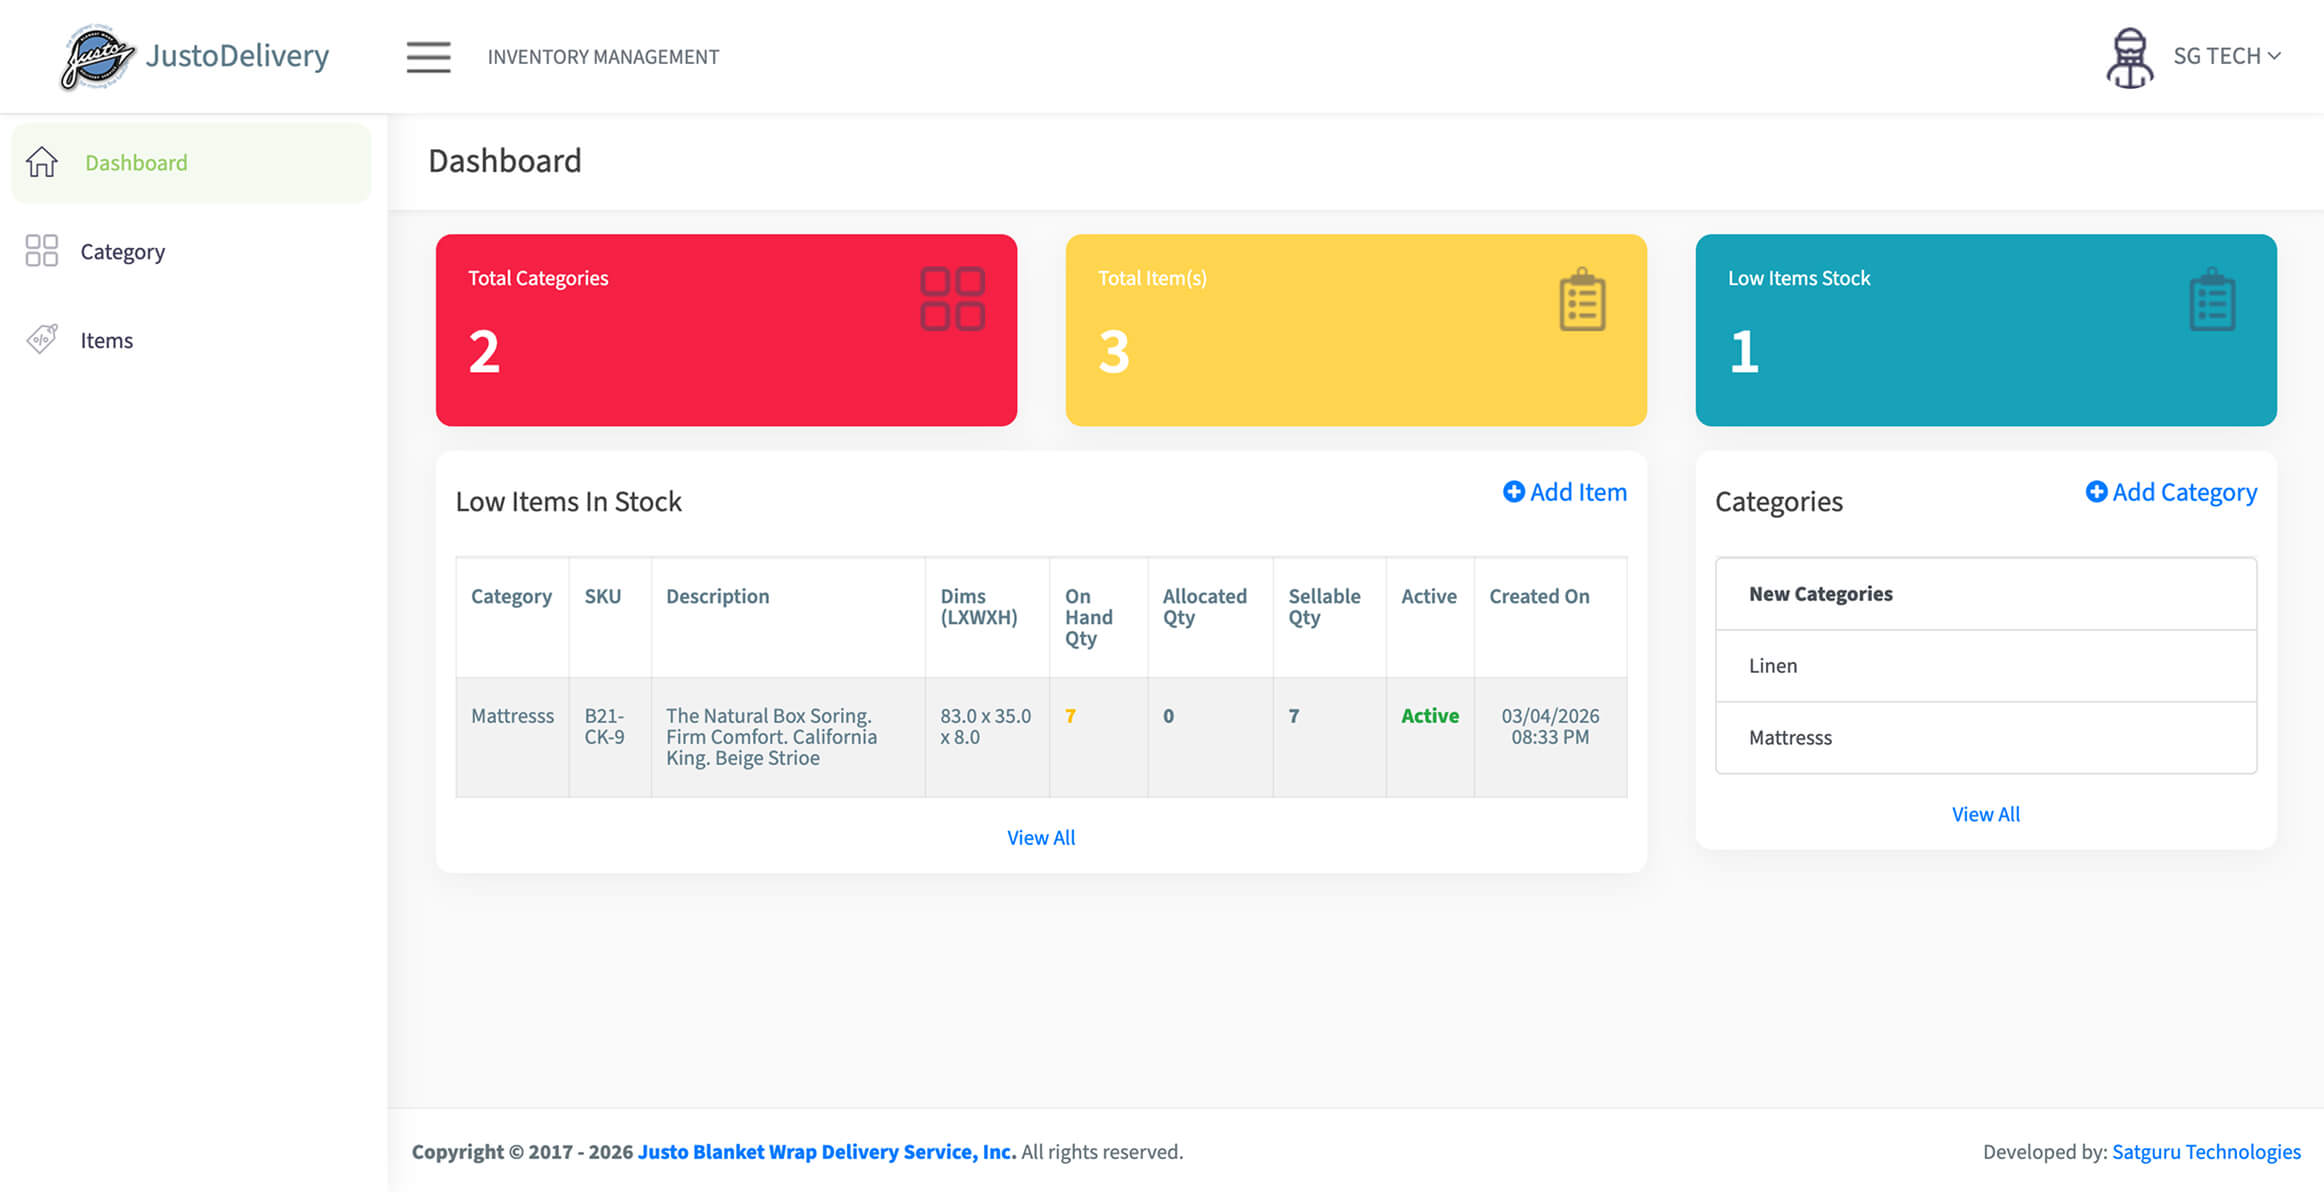
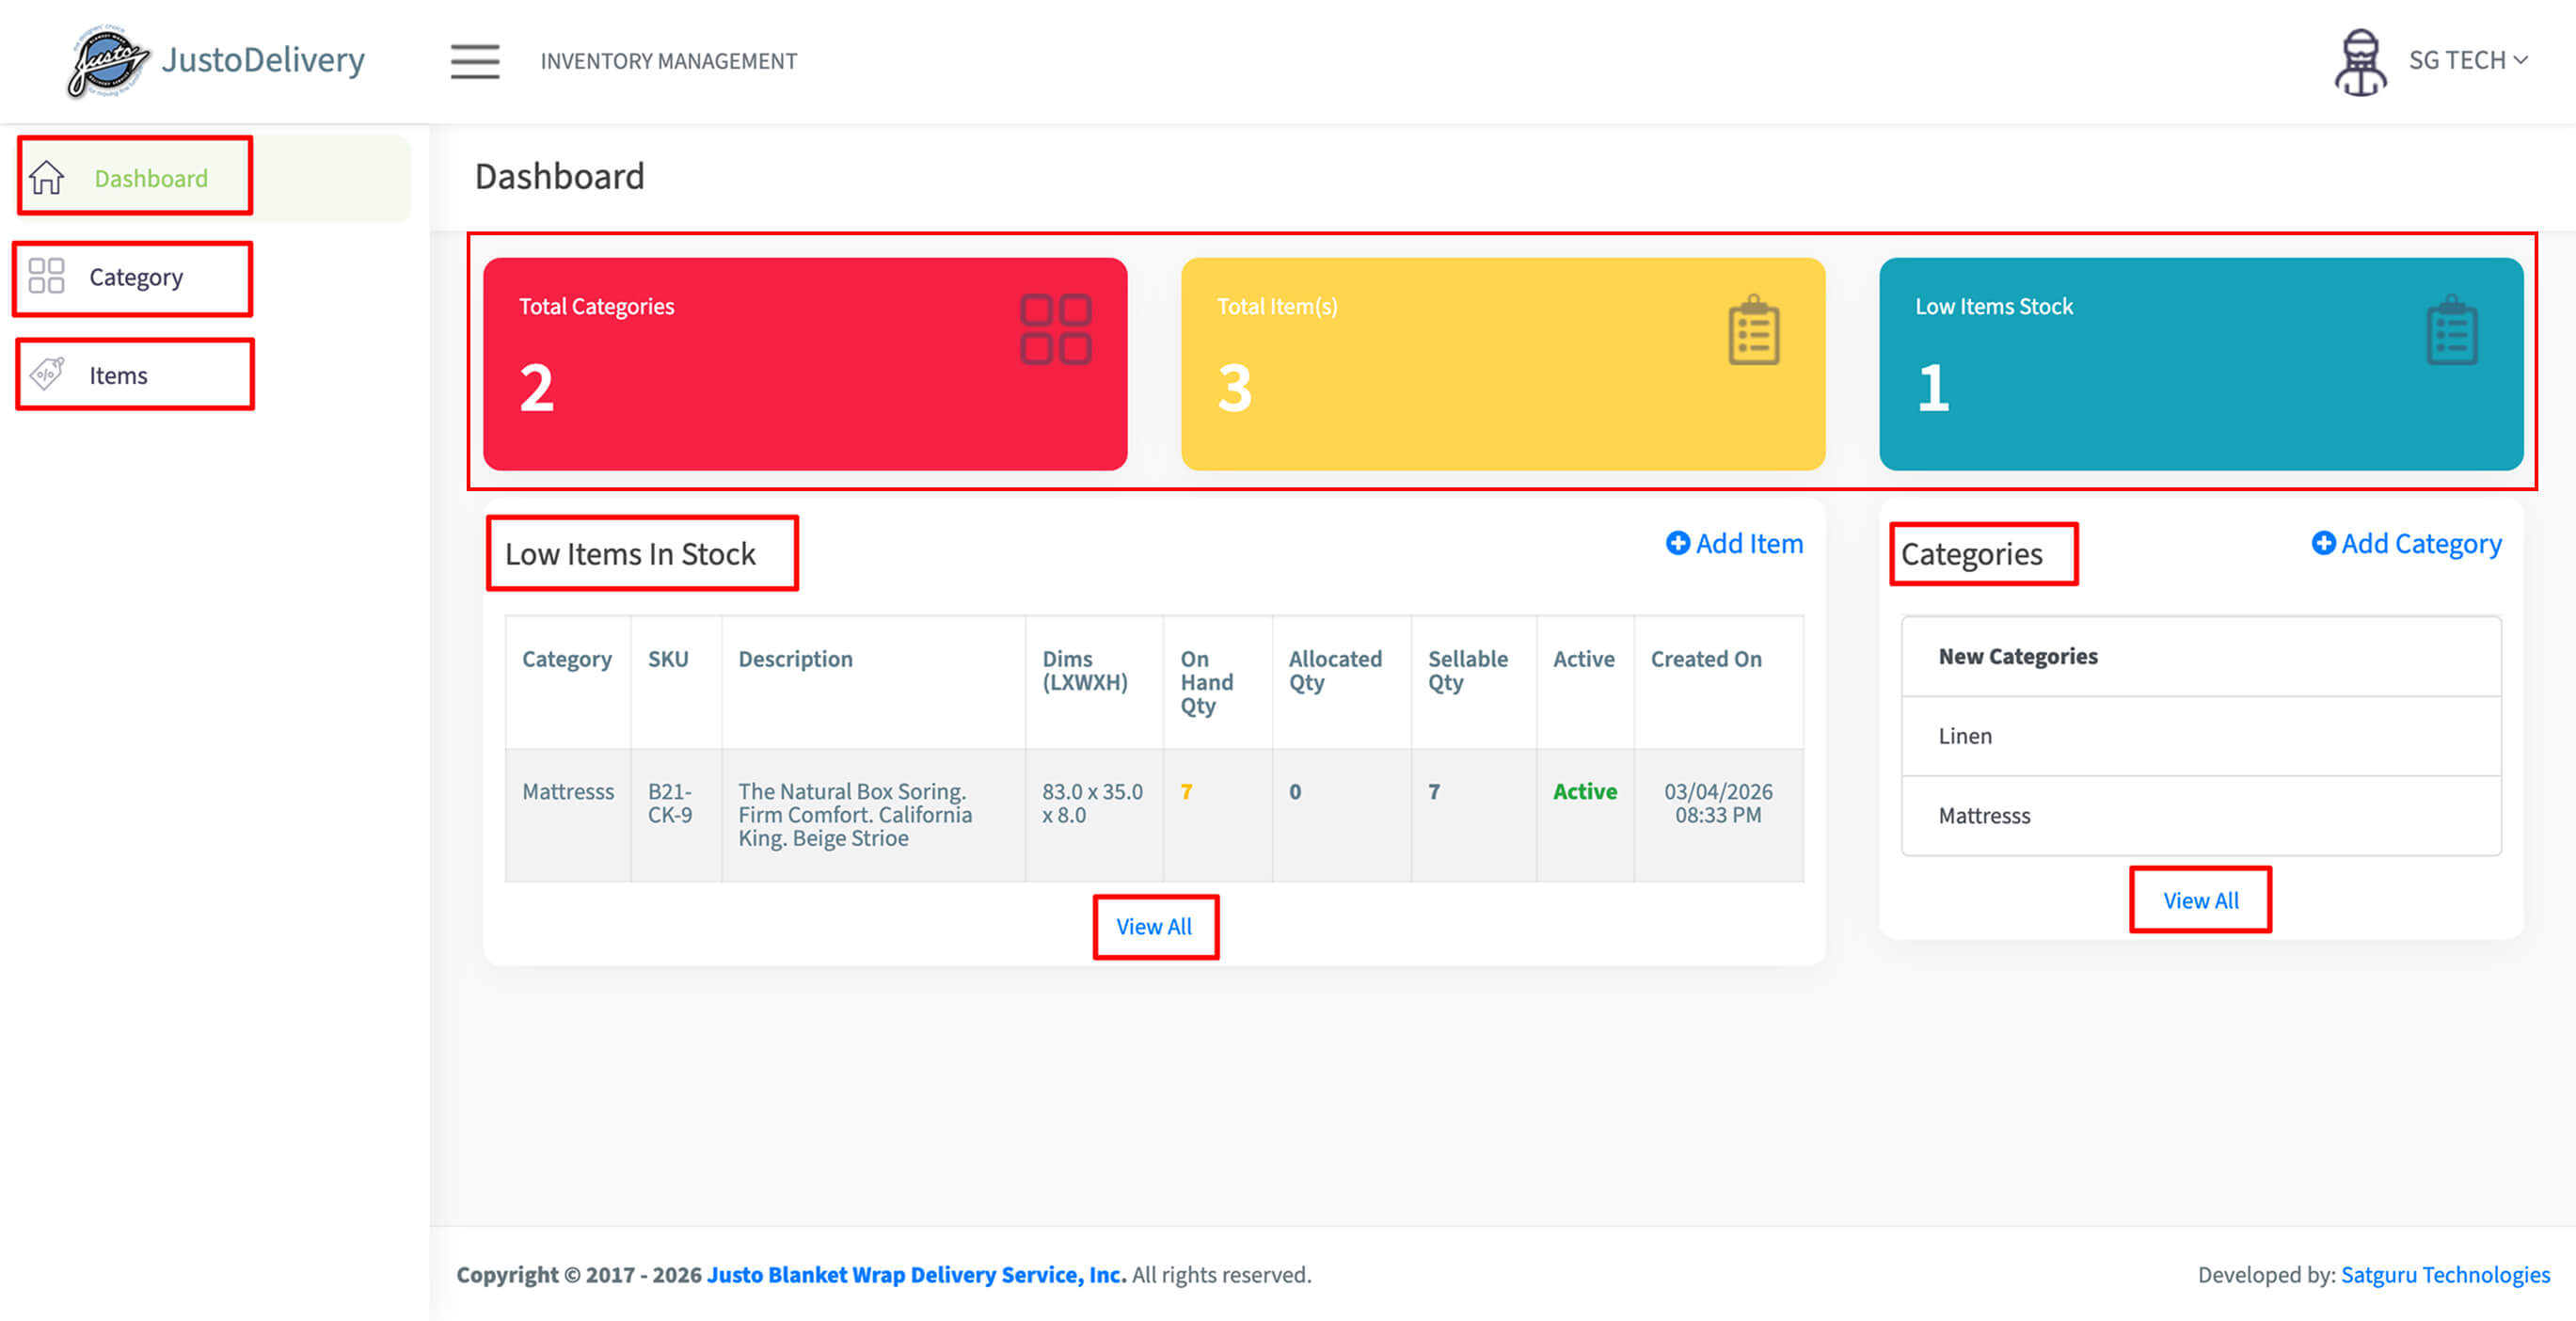
Now, inside the inventory management page there will be three tabs on the left hand side namely ‘Dashboard’, ‘Category’ and ‘Items’. The screen will display the dashboard page as default. The dashboard page will display some important stats such as the number of total categories, total items and total low items stock. List of 10 recently added Categories and a list of 10 recently modified Low items in stock will be displayed on the dashboard with a ‘view all’ button beneath both of these lists to open up the whole list page.
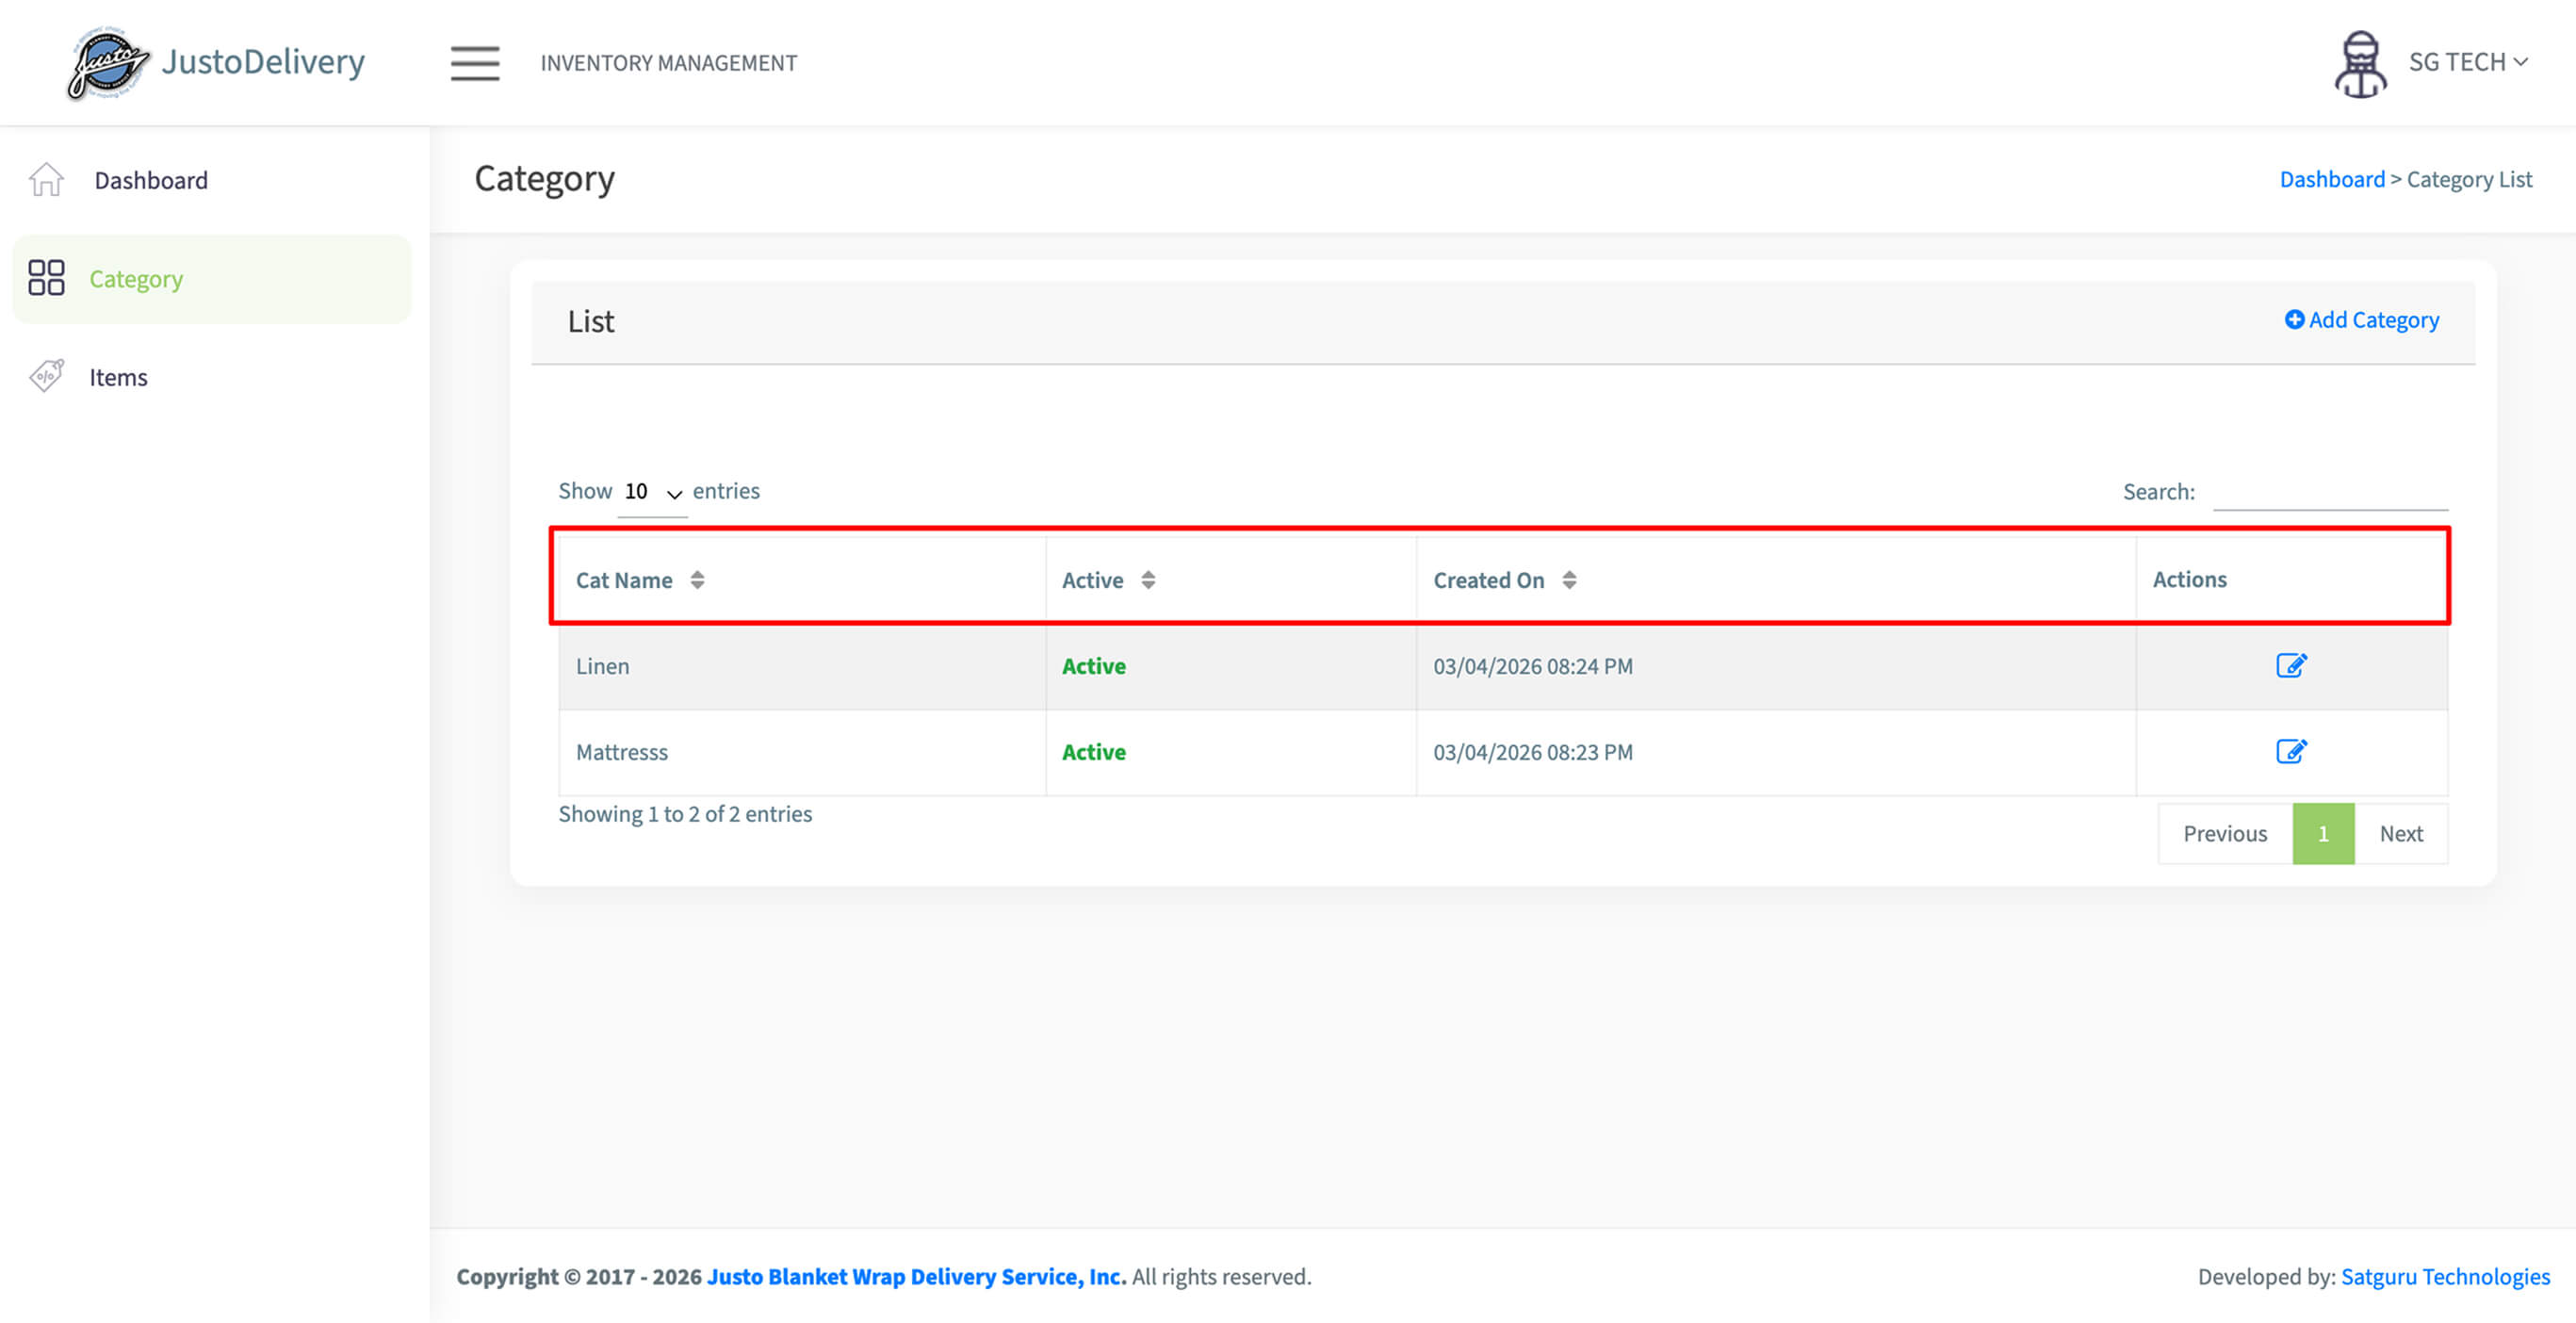
On the Categories page, there will be a list of all the categories with their details mentioned row wise such as Name, Status and Creation date. Customer can search and view these details and cannot edit any information.
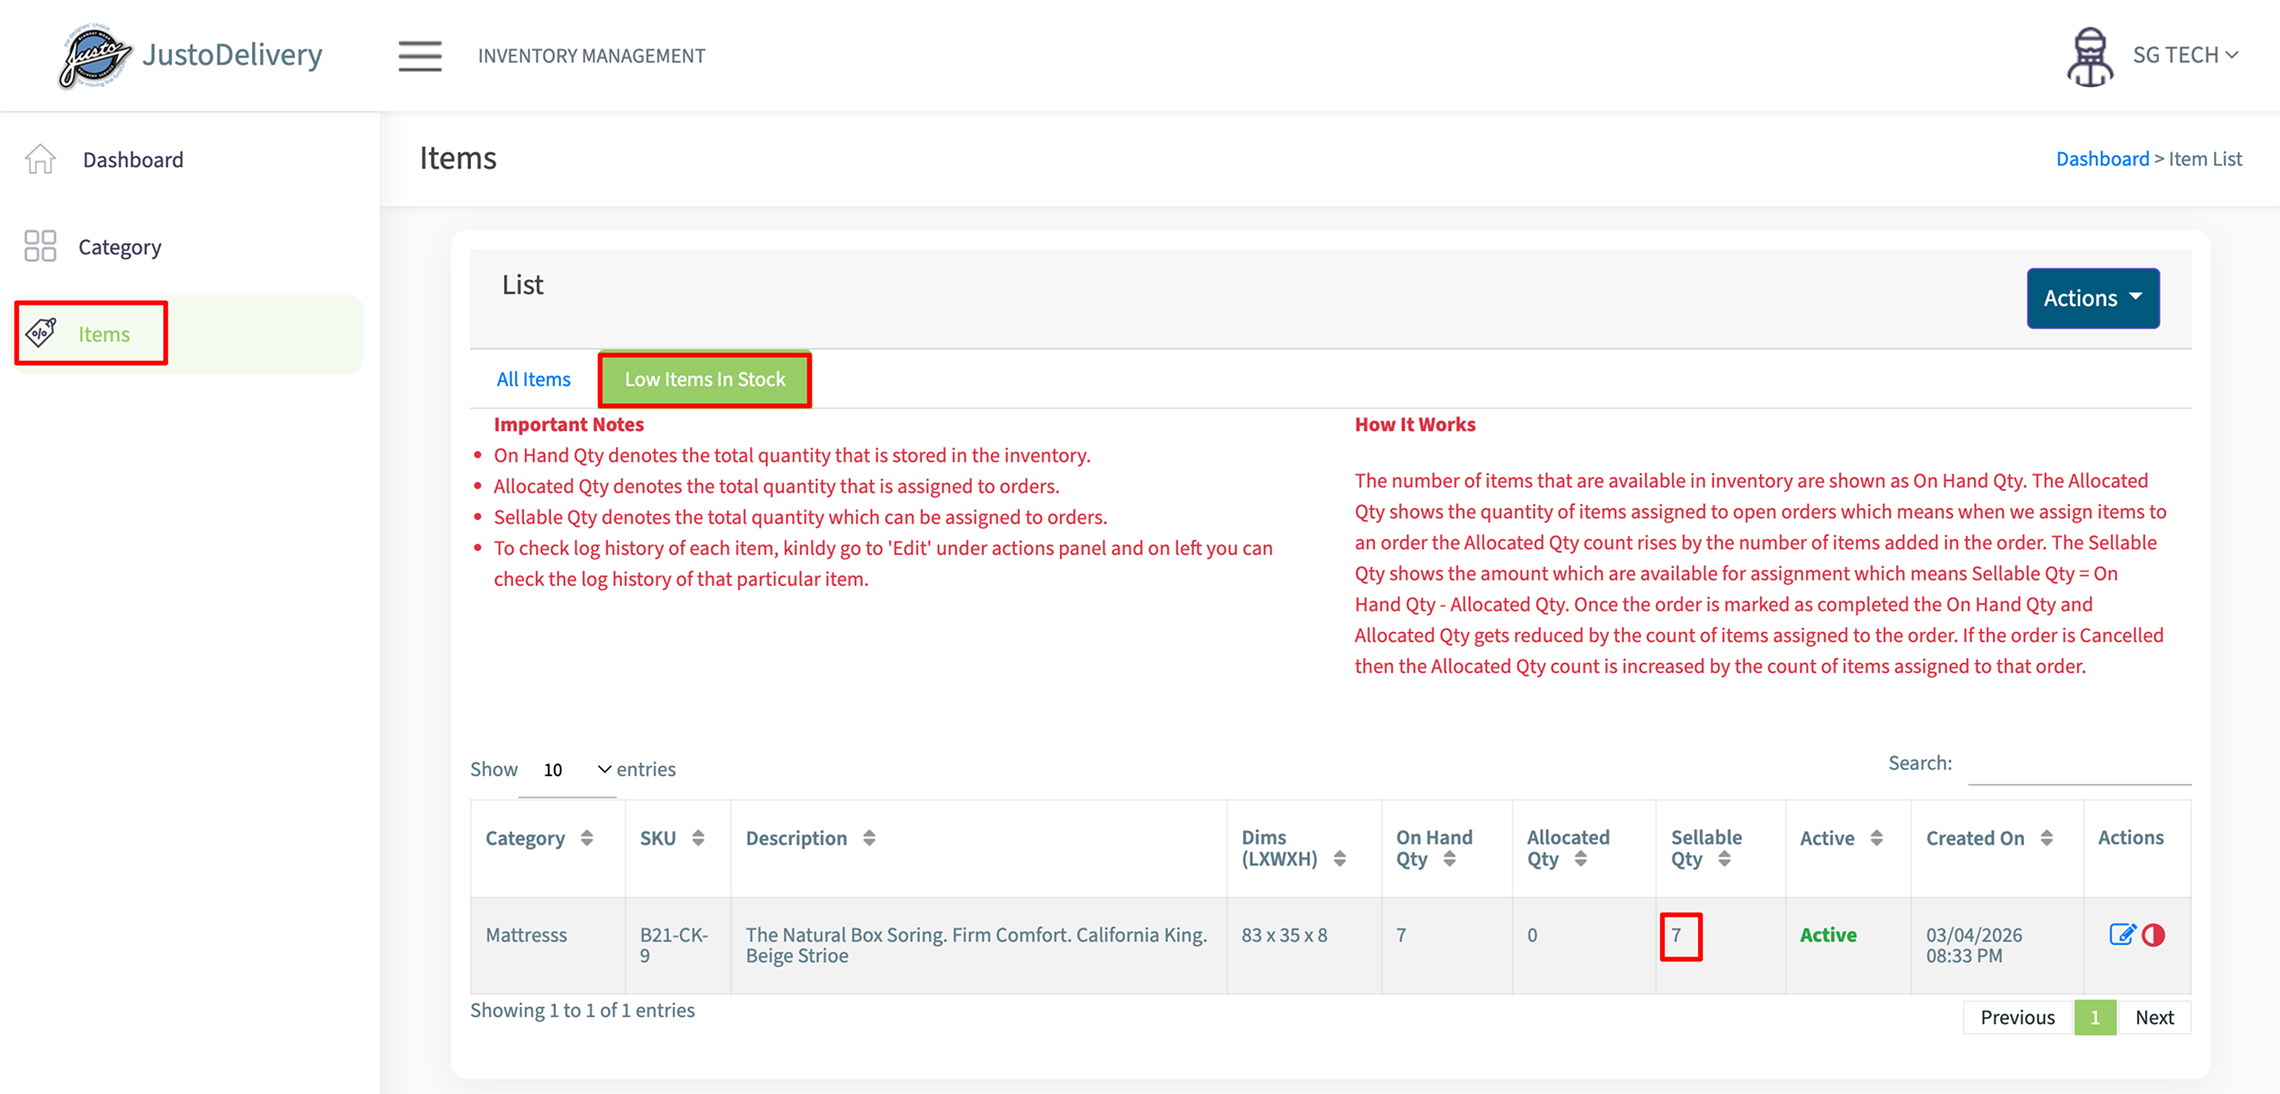
On the Items page, there will be a list of all the items with their details mentioned row wise infront of each item. Details such as Category name, Stock keeping unit (unique identification), Description, Dimensions, Stock number, Status and Creation date will be displayed for each item. These details will be ‘view’ only.
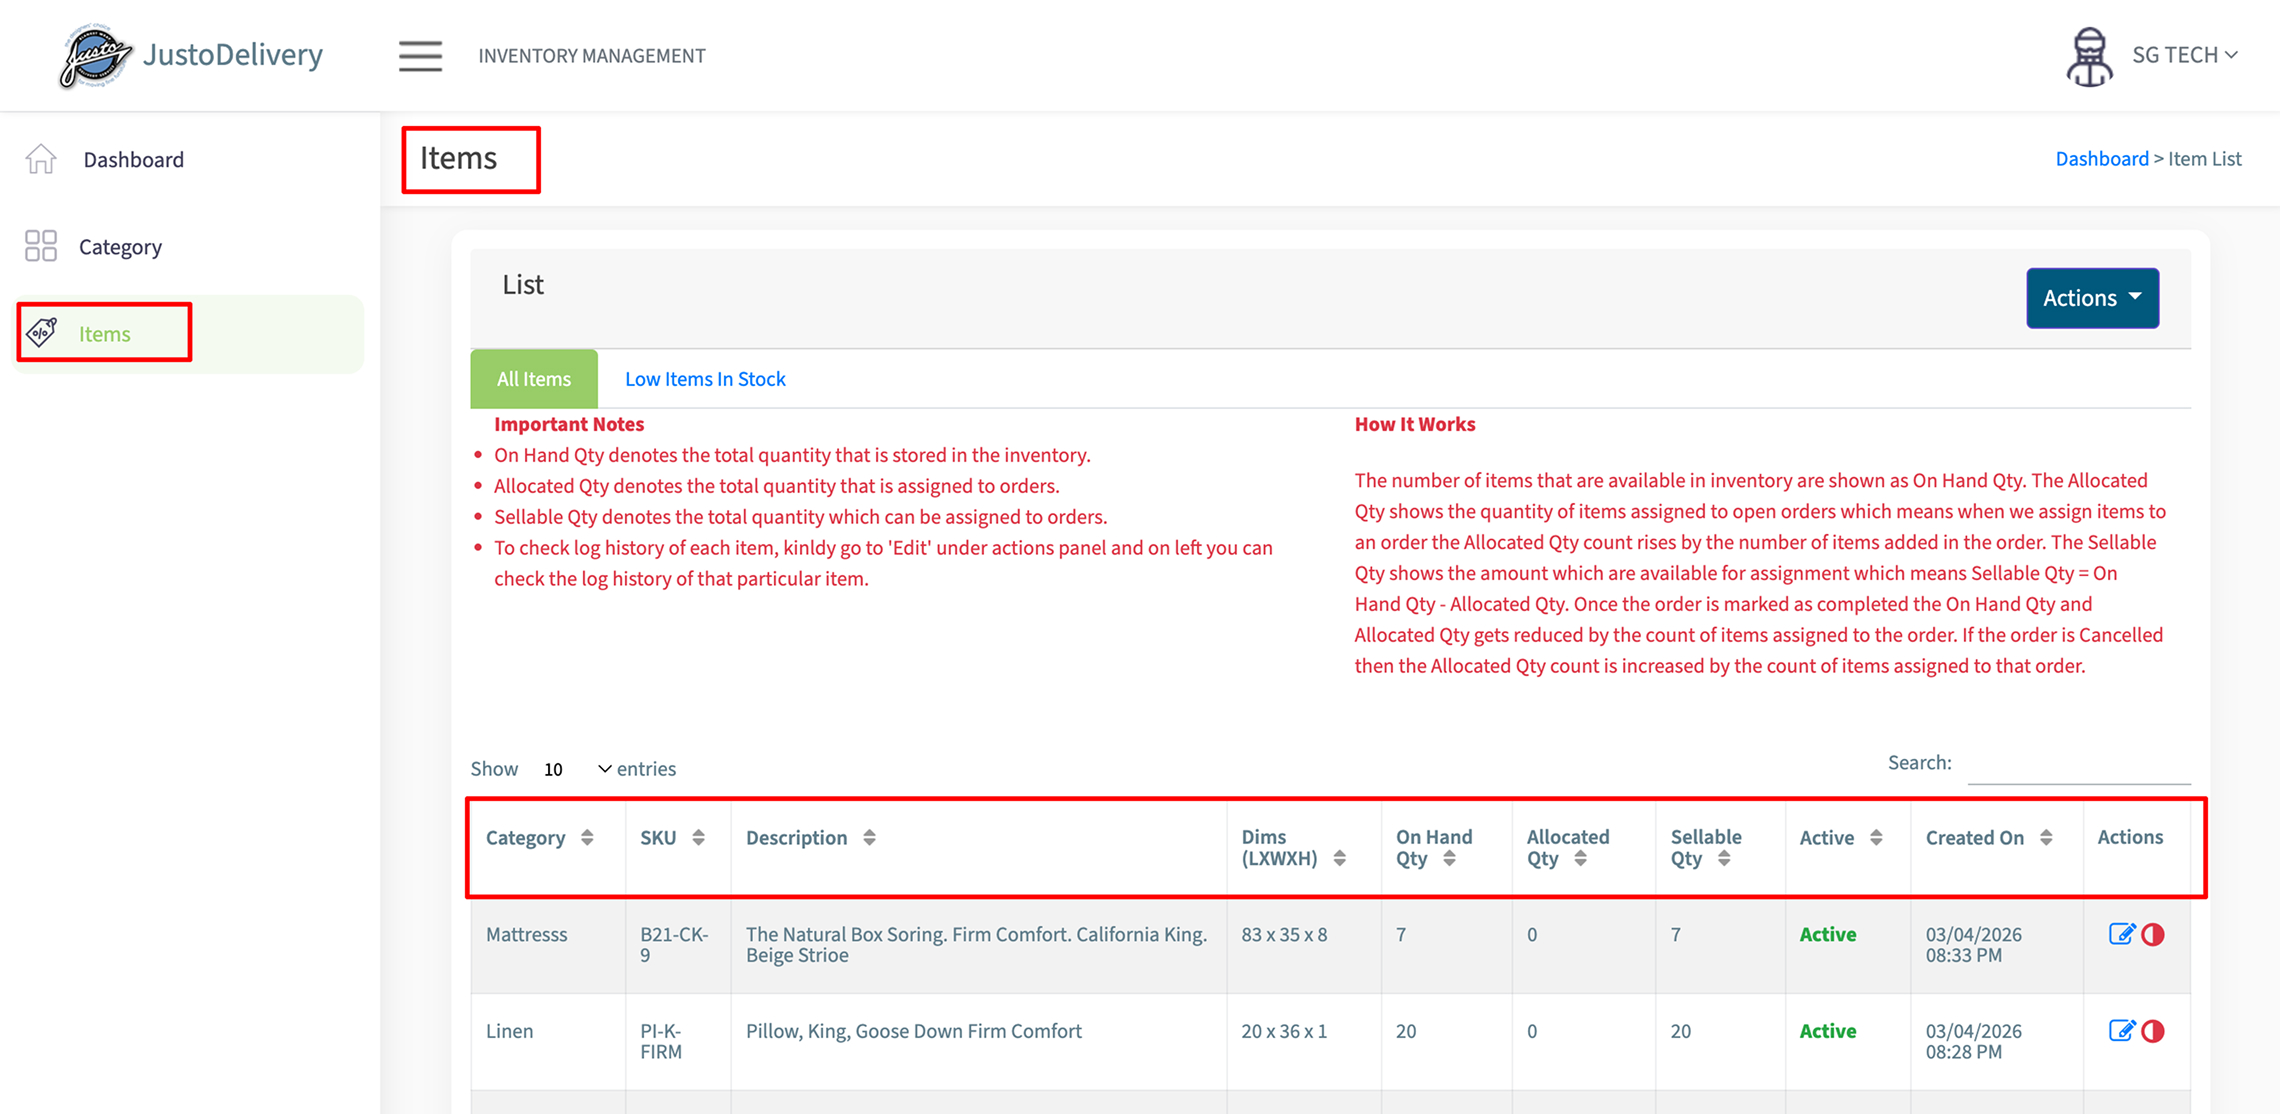
There is another tab in the Items page namely ‘Low Items in Stock’. When clicked this tab opens and displays the items whose quantity is less than equal to 10. These items also have details mentioned with them such as Category name, Stock keeping unit (unique identification), Description, Dimensions, Stock number, Status and Creation date.